How To Publish Your Website On Wordpress?
Published: 2026-02-06
Publishing a website using WordPress has become a popular choice for individuals and businesses looking to establish an online presence. WordPress offers an easy-to-use platform with customizable features that cater to a variety of needs.
This article will describe the steps needed to successfully publish your website on WordPress, from choosing a domain and hosting to optimizing your site for search engines.
Steps To Publish Your Website On WordPress:
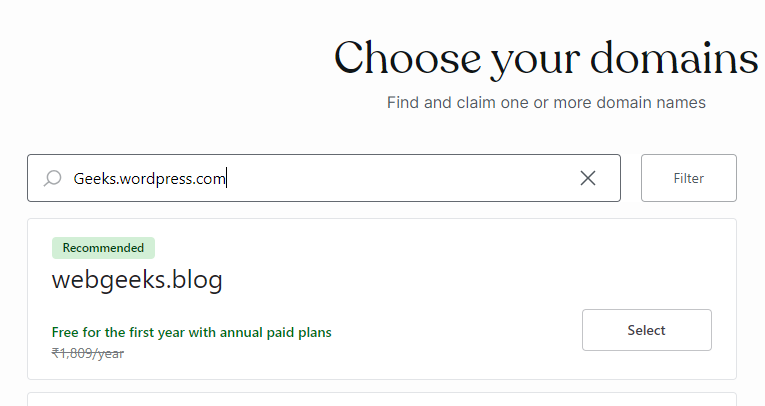
Step 1: Setting Up Your Domain and Hosting
- Create an Account on WordPress.com
- Visit WordPress.com.
- Click Get Started and sign up for a free account.
- Choose a Free Subdomain
- During setup, choose a free WordPress subdomain (e.g., yourname.wordpress.com).
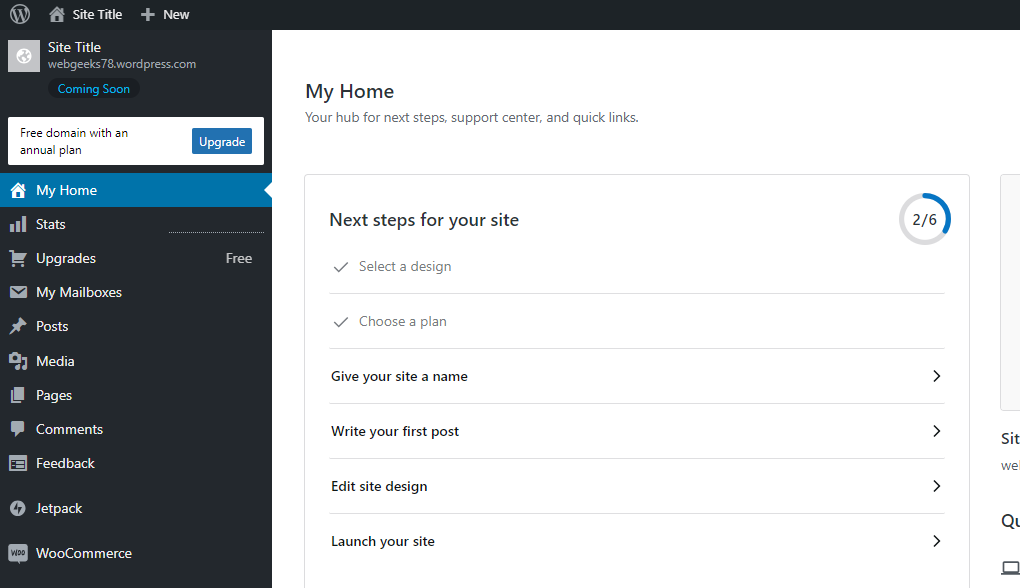
Step 2: Installing WordPress (Pre-installed on WordPress.com)
- WordPress is pre-installed on WordPress.com, so you don’t need to manually install it.
- You will be taken directly to the WordPress dashboard once you complete the sign-up process.
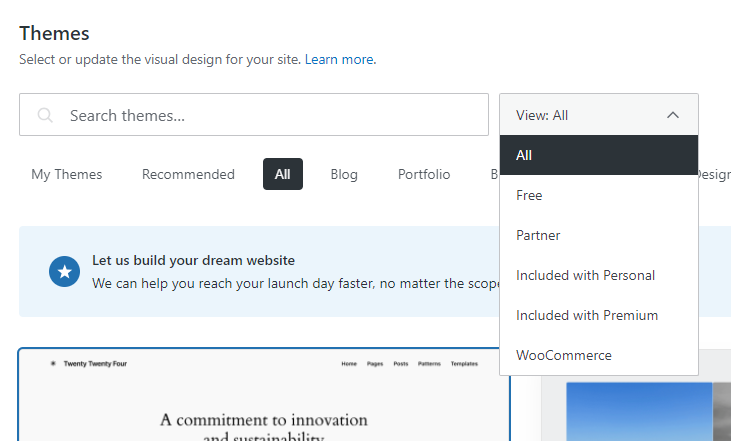
Step 3: Choosing a Theme
- Go to Appearance > Themes
- In the WordPress dashboard, navigate to Appearance > Themes.
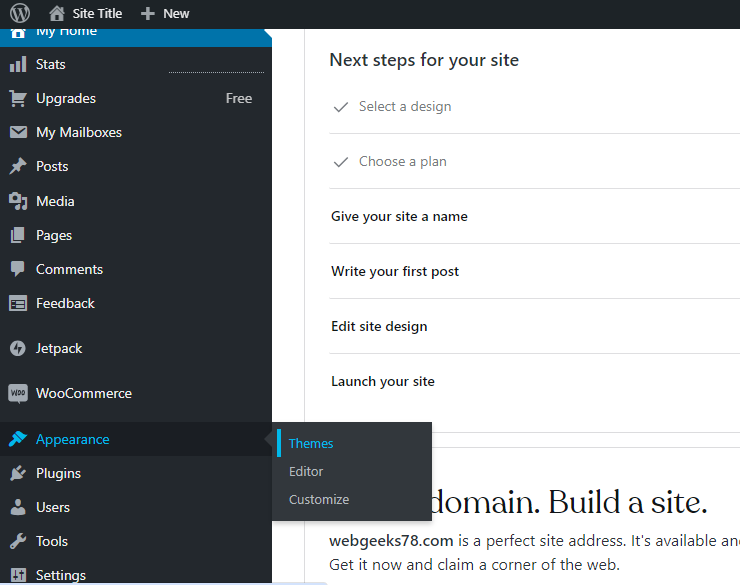
- Click free in View dropdown to browse the free themes available.
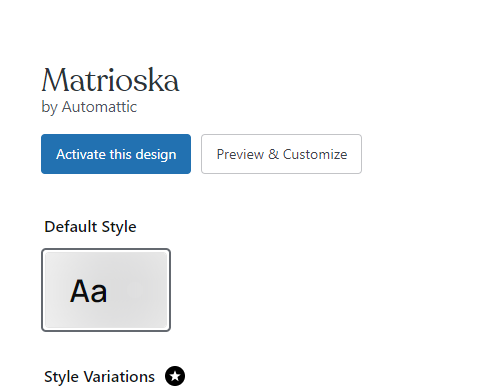
- Activate Your Chosen Theme
- Choose a theme you like, click on Activate this design.
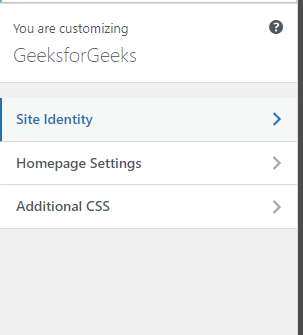
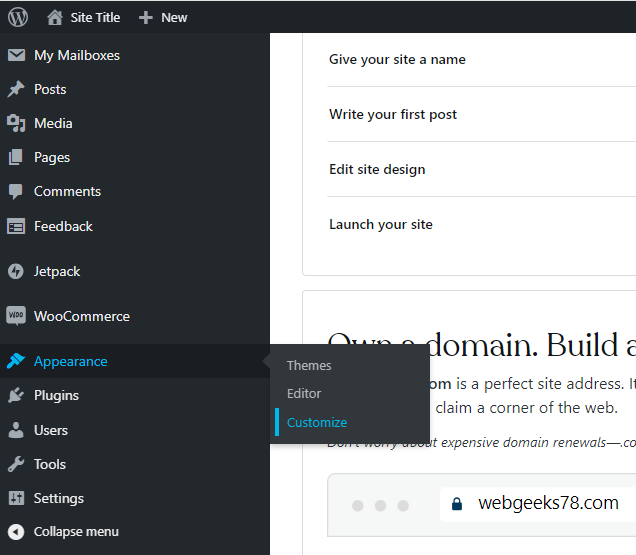
Step 4: Customizing Your Site
- Access the Customizer
- Go to Appearance > Customize to modify your website’s look.
- Modify Settings
- You can change the site title, tagline, colors, and site icon using the options available.
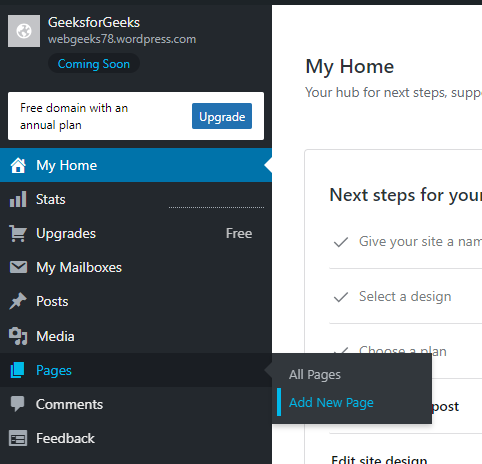
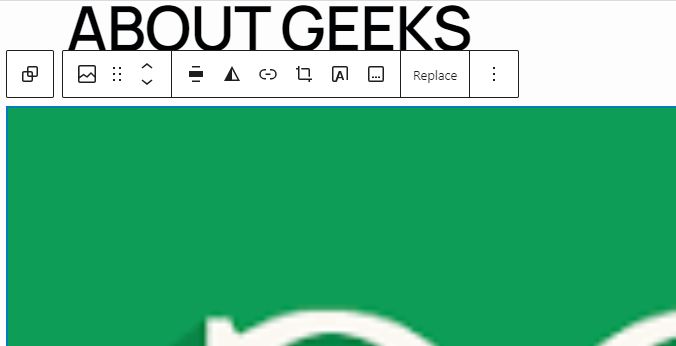
Step 5: Adding Pages and Content
- Create a New Page
- Go to Pages > Add New to create essential pages such as Home, About, and Contact.
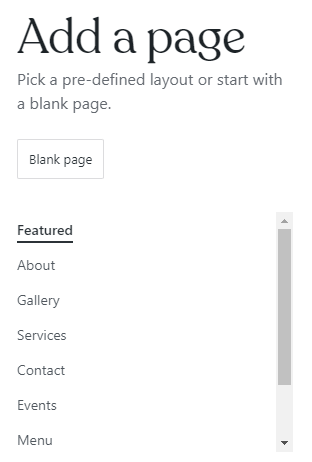
- Enter Title and Content
- Use the Gutenberg block editor to format content, add images, and insert media.
Step 6: Installing Plugins (Limited Access on WordPress.com Free Plan)
- WordPress.com free plan has limited plugin access. However, you can use built-in features for SEO, social sharing, and contact forms.
Step 7: Optimizing for SEO on WordPress.com:
- Optimize Your Post/Page Titles and Headings
- While creating or editing a page or post, make sure to use SEO-friendly titles and headings.
- Use the Gutenberg editor to add proper heading tags (H1, H2, etc.) to your content.
- Use SEO-Friendly URLs (Permalinks Automatically Generated)
- WordPress.com automatically generates a URL slug based on your post/page title. You can manually edit this by going to the Post Settings panel on the right-hand side of the editor.
- Add Meta Descriptions and Keywords (Limited on Free Plan)
- For advanced SEO features like adding meta descriptions and keywords, you may need to upgrade to a higher plan or use built-in SEO tools on WordPress.com (limited for free users).
Step 8: Previewing and Publishing Your Website
- Use the Preview Feature
- In the editor, click the View button to see how your page looks before it goes live.

- Publish Your Pages
- After previewing, click the Launch site button to make each page live.
Step 9: Maintaining Your Website
- Check for Updates Regularly
- WordPress.com handles updates automatically, but you should regularly check for new features in the dashboard.
- Backup and Site Maintenance (Handled by WordPress.com)
- Backups and security are automatically managed by WordPress.com on the free plan, so manual action is not required.
Wordpress
Web Technologies